Jetpack Compose: Rocketing in the right direction

Jetpack Compose Logo

Last week was Labweek at Comcast, one of the best traditions at Comcast, where developers and designers can take some time to pursue ideas, learn new technologies or just work with folks you don’t usually get to work with. Though every week can be labweek in my world working at Comcast Labs, I still enjoy working on something completely different from the projects-on-record for a week. You can read about a few of my previous labweek prototypes here.

For this labweek, I took the opportunity to build something with Jetpack Compose, Google’s new UI toolkit for building Android apps. In the last couple of years I have worked quite a bit with ReactJS, SwiftUI and a LOT with Flutter (read my thoughts on Flutter here) , and it was interesting to see how all of them were starting to adopt the same patterns. From the sessions at IO and conversations at the Philadelphia Google Developers’ Group that I help run, I knew Jetpack was also headed the same direction, but it took me building an app to realize how close that was.

Compose vs. SwiftUI

Compose feels the closest to SwiftUI, borrowing not only the ideas of light weight layout containers (Rows, Columns, etc) but also the use of Modifiers to manipulate the View …sorry…the Composable. Even the structure of a typical compose file with a function that defines your composable and another, annotated with a preview annotation, that lets you preview your layout is identical to the SwiftUI edit/preview experience. The similarity even extends to the documentation experience: check out the SwiftUI tutorial and the Compose tutorial page layouts with text on left that scrolls with the code on the right. Heck, even my bugs are similar in both frameworks 😉

Compose vs. Flutter

While Flutter is similar to Compose, I do prefer Compose’s modifier approach to Flutter’s approach of composing behavior using a hierarchy of widgets, though the hot reload on a device/simulator that Flutter does is preferred to the preview experience on Compose, specially since previews cannot fetch live data from the cloud and my design was very remote image heavy.

I also find creating animations in Flutter a bit cumbersome, having to create AnimationControllers, TickerProviderMixins, Curves and callbacks. Jetpack Compose does seem to have enough complexity in their own system as well but I got a lot of mileage out of just using AnimatedVisibility with enter and exit animations, though SwiftUI with the `withAnimation` blocks is the clear winner here.

Flowchart describing the decision tree for choosing the appropriate animation API
Compose’s animation system isn’t lacking in complexity either

Random Lessons Learned

There were a couple of gotchas as I was building the app: For some functionality that I would consider core, like fetching remote images or making your app aware of things like WindowInsets, is only available as part of an external (Google authored) library called Accompanist. I had a bit of a hiccup because my version of that library wasn’t compatible with the version of Jetpack in my Android IDE. I do hope these capabilities get added to Jetpack Compose core instead of an external dependency that I’d have to track (I do prefer the batteries included approach). Also if you do plan to use the official samples as a starting point, note that some (or at least the one we were using) has a compiler instruction to fail on all warnings (that took like 2 hours to figure out)

Wrapping Up

A week of intense coding in compose gave me a lot of appreciation for this new direction for Android development. I was pleasantly surprised how productive I felt working on a completely custom Android UI. There is still a lot of features of Compose I haven’t tried out yet but am definitely looking forward to learning more. At this moment Compose is not officially out yet (the latest version is release candidate 1 that came out a few days ago), but I am sure Compose will enable some truly amazing UI experiences on Android in the next few months!

Suddenly, Flutter

I had no plans to learn Flutter in 2019

When I first heard of Flutter last year, I couldn’t help but draw parallels to Java Swing, the UI technology I started with in grad school (and thankfully dropped a year or so later). If you don’t know much about Java’s UI technologies, suffice to say that for all of Java’s strengths, no version of their UI framework was ever one of them.

It started okay-ish enough with Java’s AWT toolkit that let Java call native code to create system windows, buttons etc, but devs soon realized that building cross-platform applications (which was always Java’s pitch) was really hard when you could only target the least common denominator widgets that were available across all platforms. “No more” said the Java community, and proceeded to build Swing, a cross-platform UI framework that emulated the system controls by drawing them itself on a canvas.

Image result for write once debug everywhere java

Sound familiar? That was what Flutter promises with the core graphics engine that would emulate the native Android and iOS widgets

The problem is that Swing turned out to be crap. The widgets never felt native and performed poorly. You could always tell if you were using a Swing app. And it was always interesting when some app wasn’t coded right and you’d end up with apps emulating the Windows look-and-feel on a Mac (who checked on a Mac back in those days)

So Flutter was on my “no-thanks” list. Besides my lack of faith in faking native system widgets, the language they chose was Dart! Who knew Dart? More importantly, where were the interesting libraries in Dart? Having done a few React Native apps before, I liked my options with JavaScript and the dream of making cross-platform (mobile AND web) apps.

But then a couple of things happened. One: I saw some pretty compelling Flutter based apps. The interesting thing was, the best apps try to create their own design language anyway, so deviating from the system look-and-feel felt okay; and then second: I tried Flutter for a labweek project and was won over by the one click deploy to multiple platforms and the hot reload (it might also have been just fortuitous timing as I was losing my mind with React Native’s minimal support for custom views and animations, something that Flutter promises a lot more control over)

So for the last 4 months or so I have been working with Flutter and I have to say I really enjoy it. Some parts are definitely rough (I still don’t love the indentation hell when describing layouts) but Dart is enjoyable and is very inspired by the best parts of JavaScript and Swift (among others). Recent additions to Dart have been very interesting, because they address issues in real-world UI development. This feels different from the more generic “Lets create a general purpose language and allow it for UI dev” approach of other languages.

But the core reason I am excited about Flutter is the culture. The reason Swing was a dud (IMHO) was that it was built by people who didn’t care to push UI experiences. The native mobile toolkits are better but still make it hard to build complex user interfaces (SwiftUI and Jetpack Compose are trying to change that). Example “Hello World” apps you see using native toolkits are pretty generic form-based apps.

But look at the kinds of apps Flutter shows off:

Image result for flutter timeline app

🤩

While this may not be everyone’s cup of tea, this “think-outside-boxy-layouts” approach has my vote.

4 months in, I am still new-ish to Flutter but I guess I am on board. Stay tuned for more random Flutter stuff on this blog 🙂

Building CodeCoin: A Blockchain DApp prototype

If you know me, there is a good chance that you know how 👍 I am about Blockchain and Decentralized apps. I have given a few talks on it but till recently these were mostly either focused on Bitcoin or on the academics of Blockchain technology. At a recent Comcast Labweek, I was finally able to get my hands dirty with building a Blockchain based decentralized app (DApp) on Ethereum.

Labweek is a week long hackathon at the T&P org in Comcast that lets people work on pretty much anything. I was pretty fortunate to end up working with a bunch of really smart engineers here. The problem we decided to look into was the challenge of funding open source projects. I am pretty passionate about open source technologies but I have seen great ideas die on Github because supporting a project when you aren’t getting paid for it is really hard. Our solution to this problem was a bounty system for Github issues that we called CodeCoin.

The way CodeCoin worked was as follows:

  • A project using CodeCoin would sign up on our site and download some Git hooks.
  • When anyone creates an issue on Github, we create an Ethereum wallet for the issue and post the wallet address back to Github so its the first comment on the issue.
  • We use a Chrome extension that adds a “Fund this issue” button on the Github page that starts the Ethereum payment flow.
  • To actually handle the payment, we require MetaMask that we can trigger using its JavaScript api
  • Ether is held in the wallet till the issue is marked resolved and merged into master. At this time another Git hook fires that tells our server to release the Ether into the wallets of all the developers who worked on the issue.

app-screen.png
Issue page design. Most of the UI changes came from a custom Chrome extension

flow.png
Application Flow

Note that while we held the Ether on our side in wallets, the right way to do this would have been to use a Smart Contract. We started down that route but since most of the code was done in like 2 days (while juggling other real projects), wallets seemed like the easier route.

Releasing money into developer accounts was also a hack. Since developers don’t sign up to Github with any digital wallet address, we need the wallet addresses as part of the final commit message. This could be done with a lookup on a service like Keybase.IO maybe and with more time we would have tried integrating it to our prototype. In fact it was the next week that I heard about their own Git offering. I haven’t read enough about that yet though.

Development notes:

  • For local development, we used the TestRPC library to run a Ethereum chain simulation on our machine.
  • We used web3js, the Ethereum JavaScript api for doing most of the actual transactions
  • Web3js was injected into the browser by the MetaMask extension. There were some challenges getting Metamask to talk to the TestRPC. Basically, you had to make sure that you initialized MetaMask with the same seed words as you used for your account on TestRPC (which makes sense) but there isn’t a way afaik to change that information in MetaMask. Early on, we were restarting TestRPC without configuring the initial accounts so we’d have to reinstall MetaMask to configure it with the new account. Chalk that to our own unfamiliarity with the whole setup.

metamask
MetaMask transaction

  • We did try to use Solidity to run a smart contract on TestRPC which worked for the demo apps, but canned that effort in the last moment as we were running out of time

All in all, it was a fun couple of days of intense coding and I feel I learnt a lot. Most of all I enjoyed working with a group of really smart peers, most of whom I didn’t know before the project at all. Hopefully we get to do more of that in the future 🙂

IMG_0310.jpg


Helios: Visualizing TechCrunch data with OpenFrameworks


Helios Screenshot
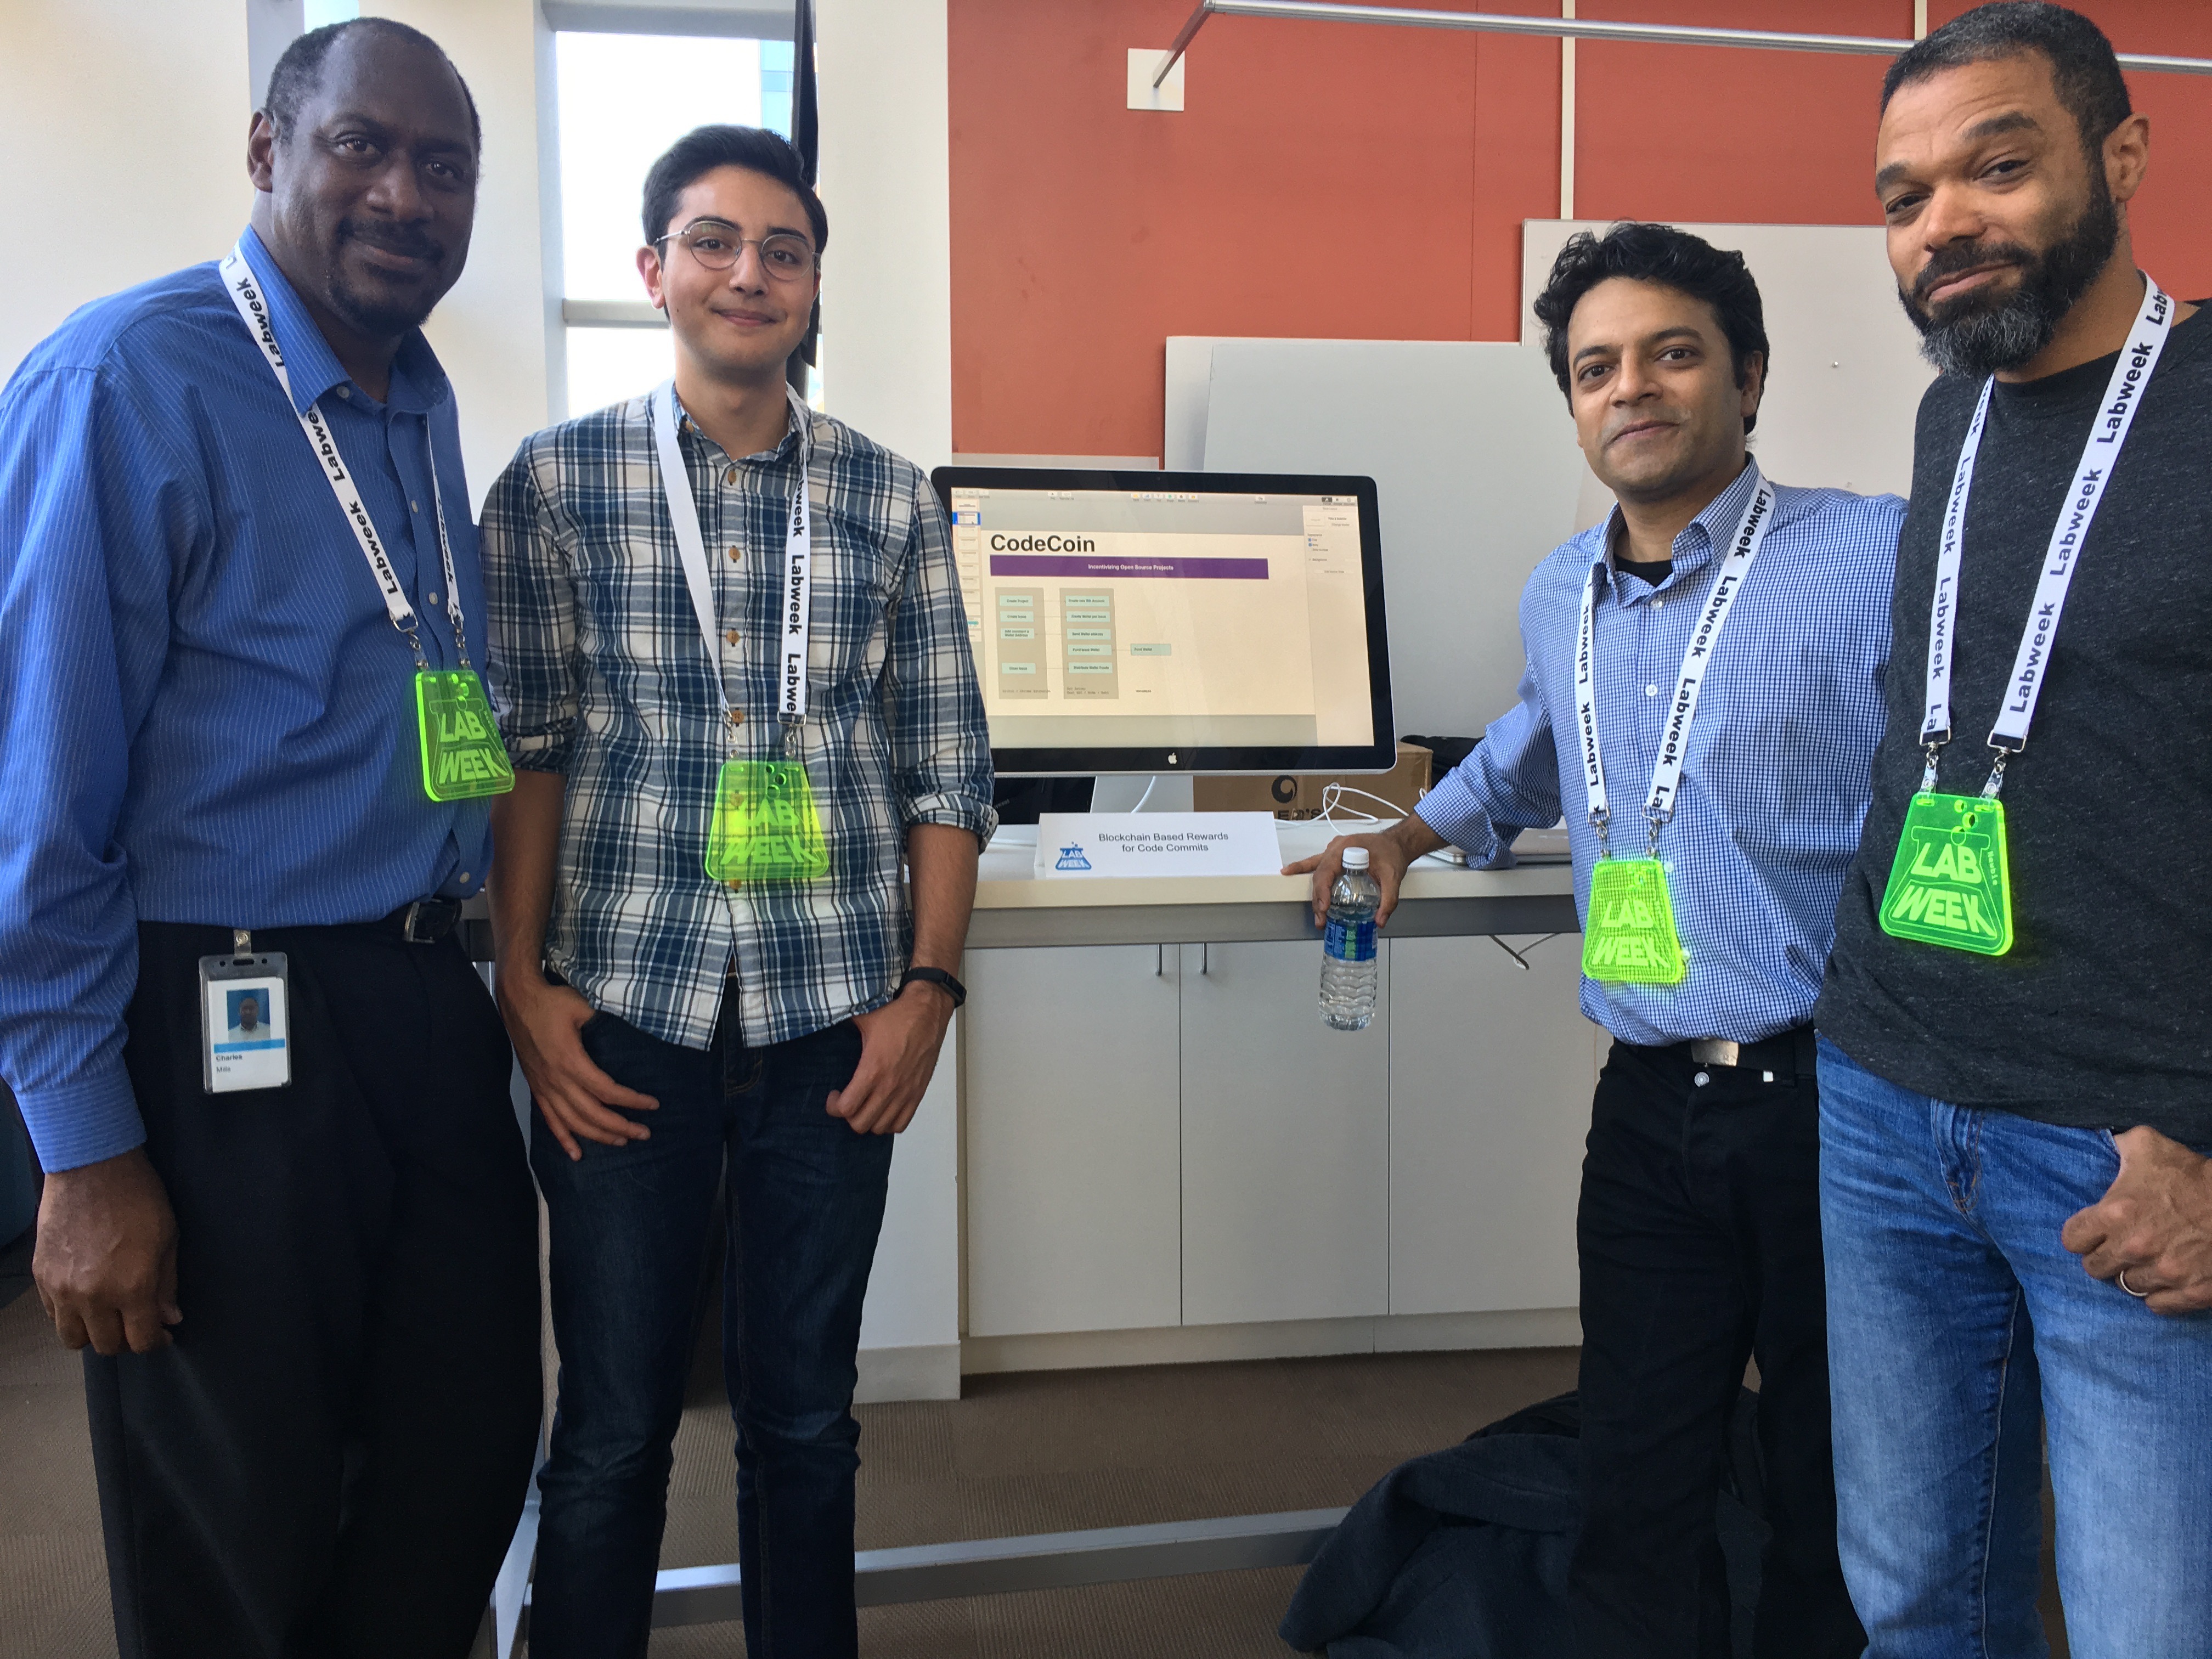
Once a quarter, the Technical and Product Team at Comcast lets all its engineers participate in a “Lab Week”, a tradition that started a while back at CIM and now encompasses a much larger Engineering group across Comcast. Goals of labweek can be different, from learning new technologies to pitching new products and services. You can read a bit more about lab week here

This quarter, I (and Gabo by coercion) decided to work on a data visualization project, mostly as an excuse to learn OpenFrameworks. For the unfamiliar, OpenFrameworks is a C++ based toolkit for “creative coding”. Its used quite a bit in a variety of fields visualizing information or just creating very rich visual imagery. For example, it was used in Tron:Legacy for creating a variety of visuals used in the movie. Being in C++, it gives you so much power and its really nice not really worrying about how many pixels/shapes you are putting on screen. The other thing thats really cool is that its cross platform and your C++ code is compiled to OpenGL based desktop apps or OpenGL ES based Android or iPhone apps.

The app itself was interesting: At my current group, Comcast Innovation Labs, we work quite a bit with startups but often I am very unfamiliar with their history. So the goal of the app was to represent the startup data and see how they compared with their competitors.  We never finished our final vision, but the app as it stands currently lets you plug in names of companies and the app will render them on the stage with circles representing the size of their funding on a timeline of when they did close their funding rounds as well as any news stories that mentioned them in that timeframe. You can see a video of the app in use below:


We went from barely remembering C++ and reading up on OF to the project shown below in 4 days. The code is not super clean and there are is also a lot of code that we ended up not using thats in the codebase, but if its on GitHub if you want to take a look. And if you want to install the app just to check it out, you can download it from here